Once you have your audio equipment setup and connected to your playback computer — lets install and configure Spatial Reality.
In This Article:
- Account & Site
- Computer Group
- Grant Access
- Computer Settings
- Network Settings
- Audio Interface
- Summary
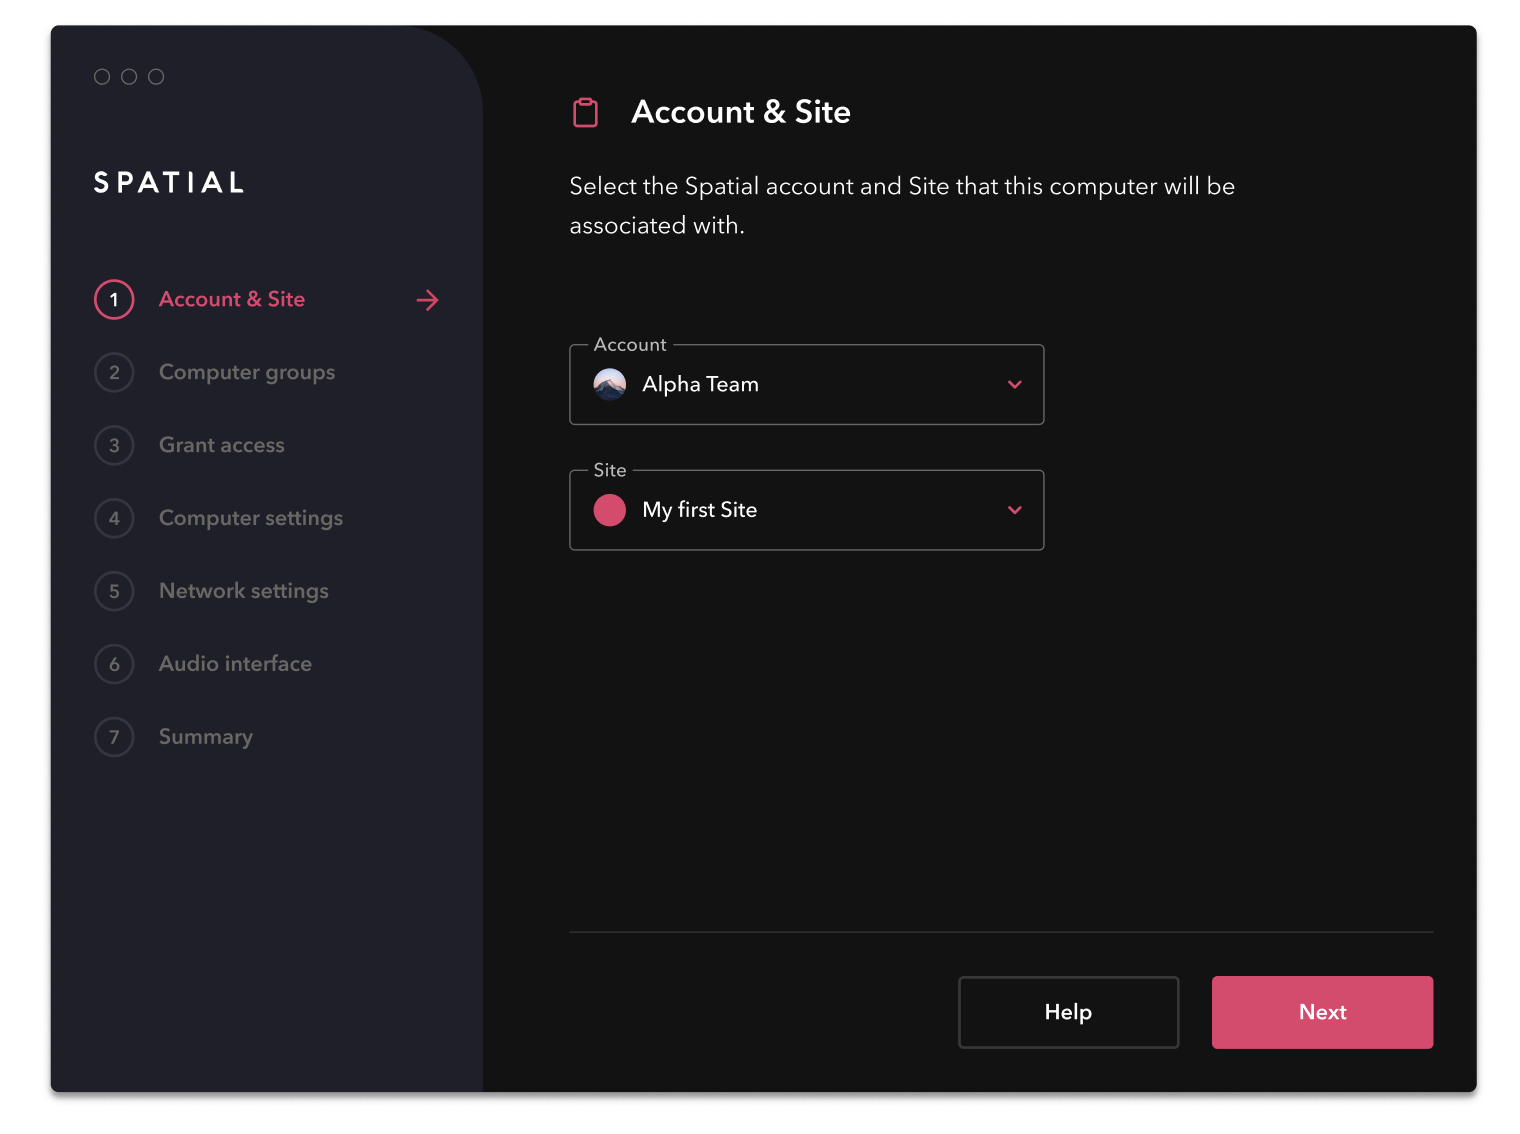
Account & Site
Launch the app and sign-in. Select the Spatial account and Site you want this computer to belong to.
Note: First time users will have a Spatial account and Site already created for them. You can edit these details anytime using Spatial Control.
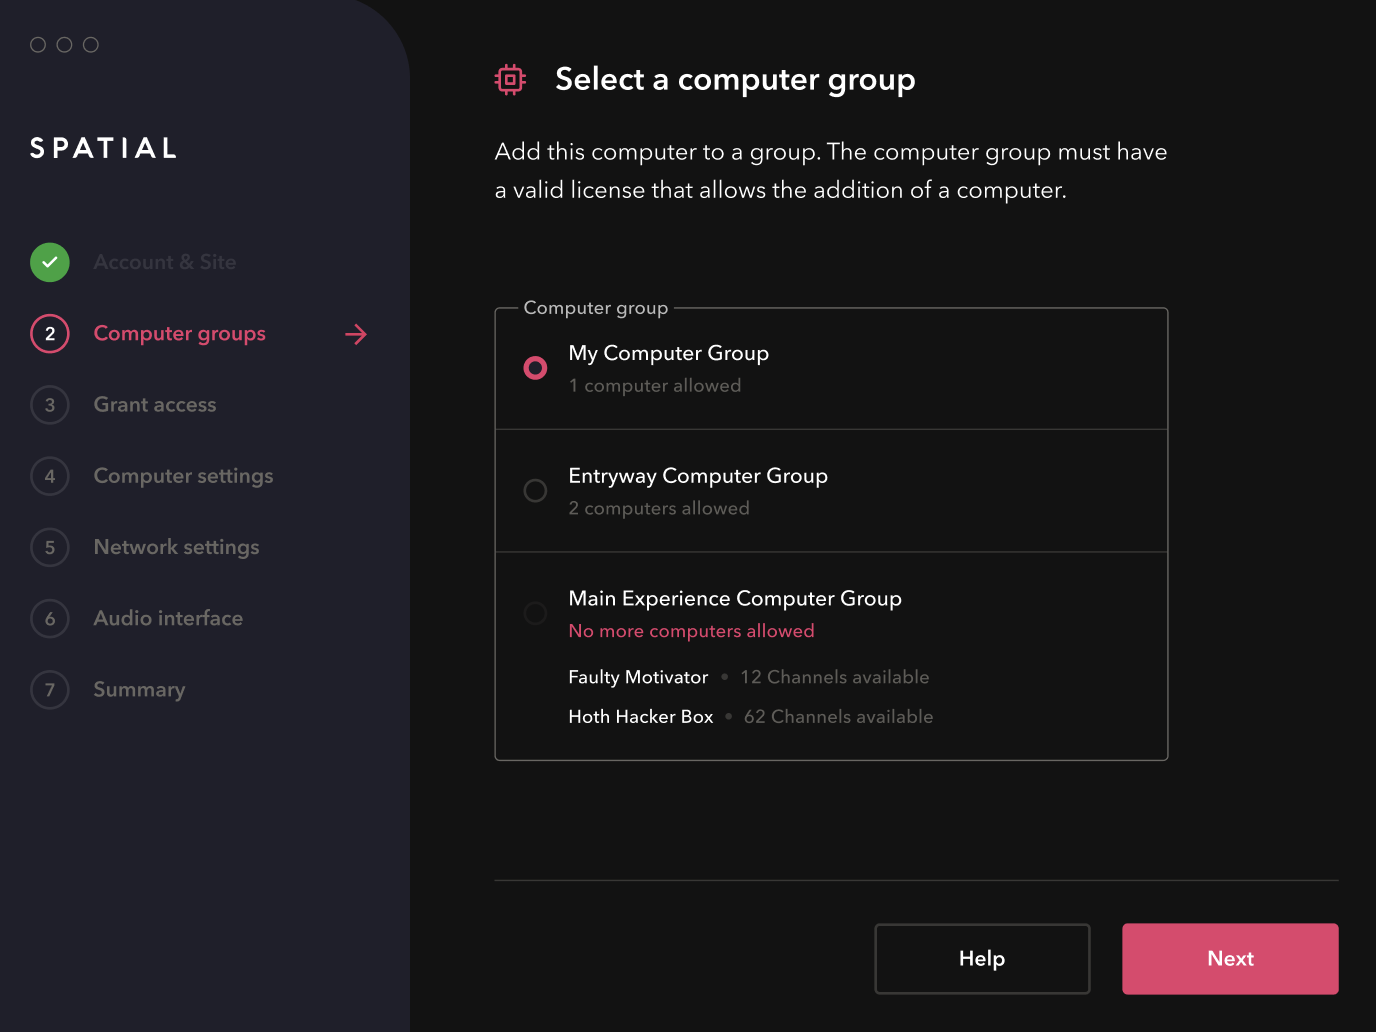
Computer Group
-
Select the computer group this computer will belong to. You can add this computer to any computer group that has a valid license that allows the addition of a computer.
-
If you don’t yet have valid license, head to Spatial Central to add your first license. You can then return to the Spatial Reality app to finish setup.
Grant Access
Spatial Reality needs admin privileges to install some components. You will be asked to grant access by entering your admin password for your computer.

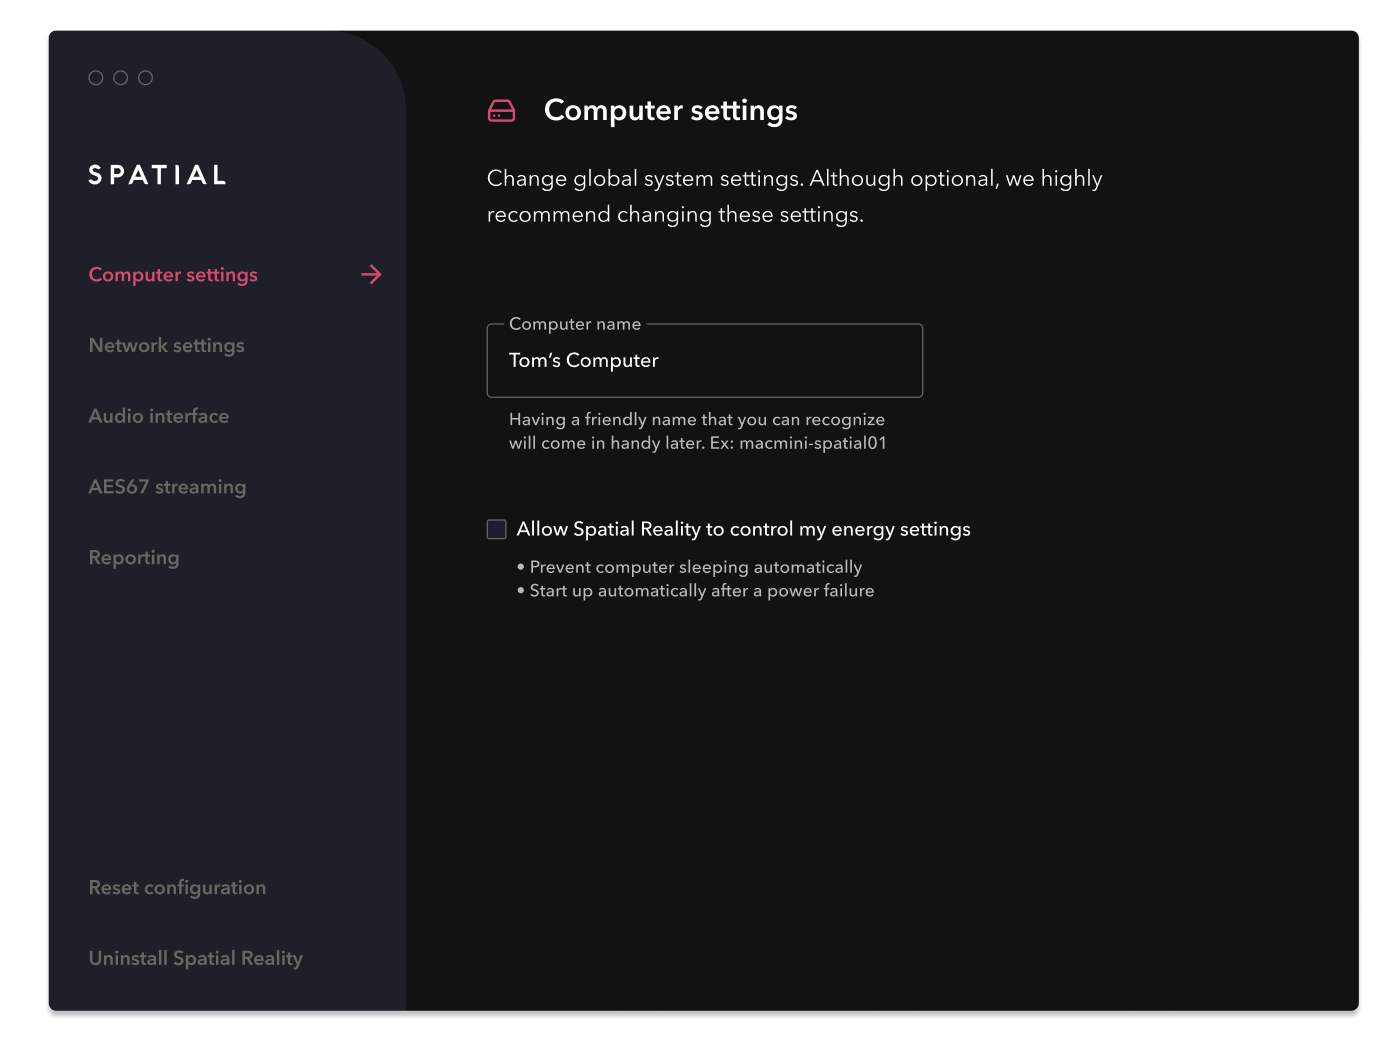
Computer Settings
- A recognizable computer name will come in handy later — you can do that through Spatial Reality if you’d like.
- We suggest enabling the recommended power settings so your computer can recover and start Spatial Reality again after a power failure.
- To ensure the Spatial Reality menu is available whenever you log in to your computer check “Allow Spatial Reality to control my energy settings". You can check status, change settings, and manage Spatial Reality from the status bar menu.
Network Settings
Select the network interface you would like to use for Spatial Reality. To use Spatial Control and Spatial Studio later, you need to ensure all 3 applications are running on devices connected to the same subnet. We recommend using a direct ethernet connection for optimal performance, and disabling your WIFI entirely.
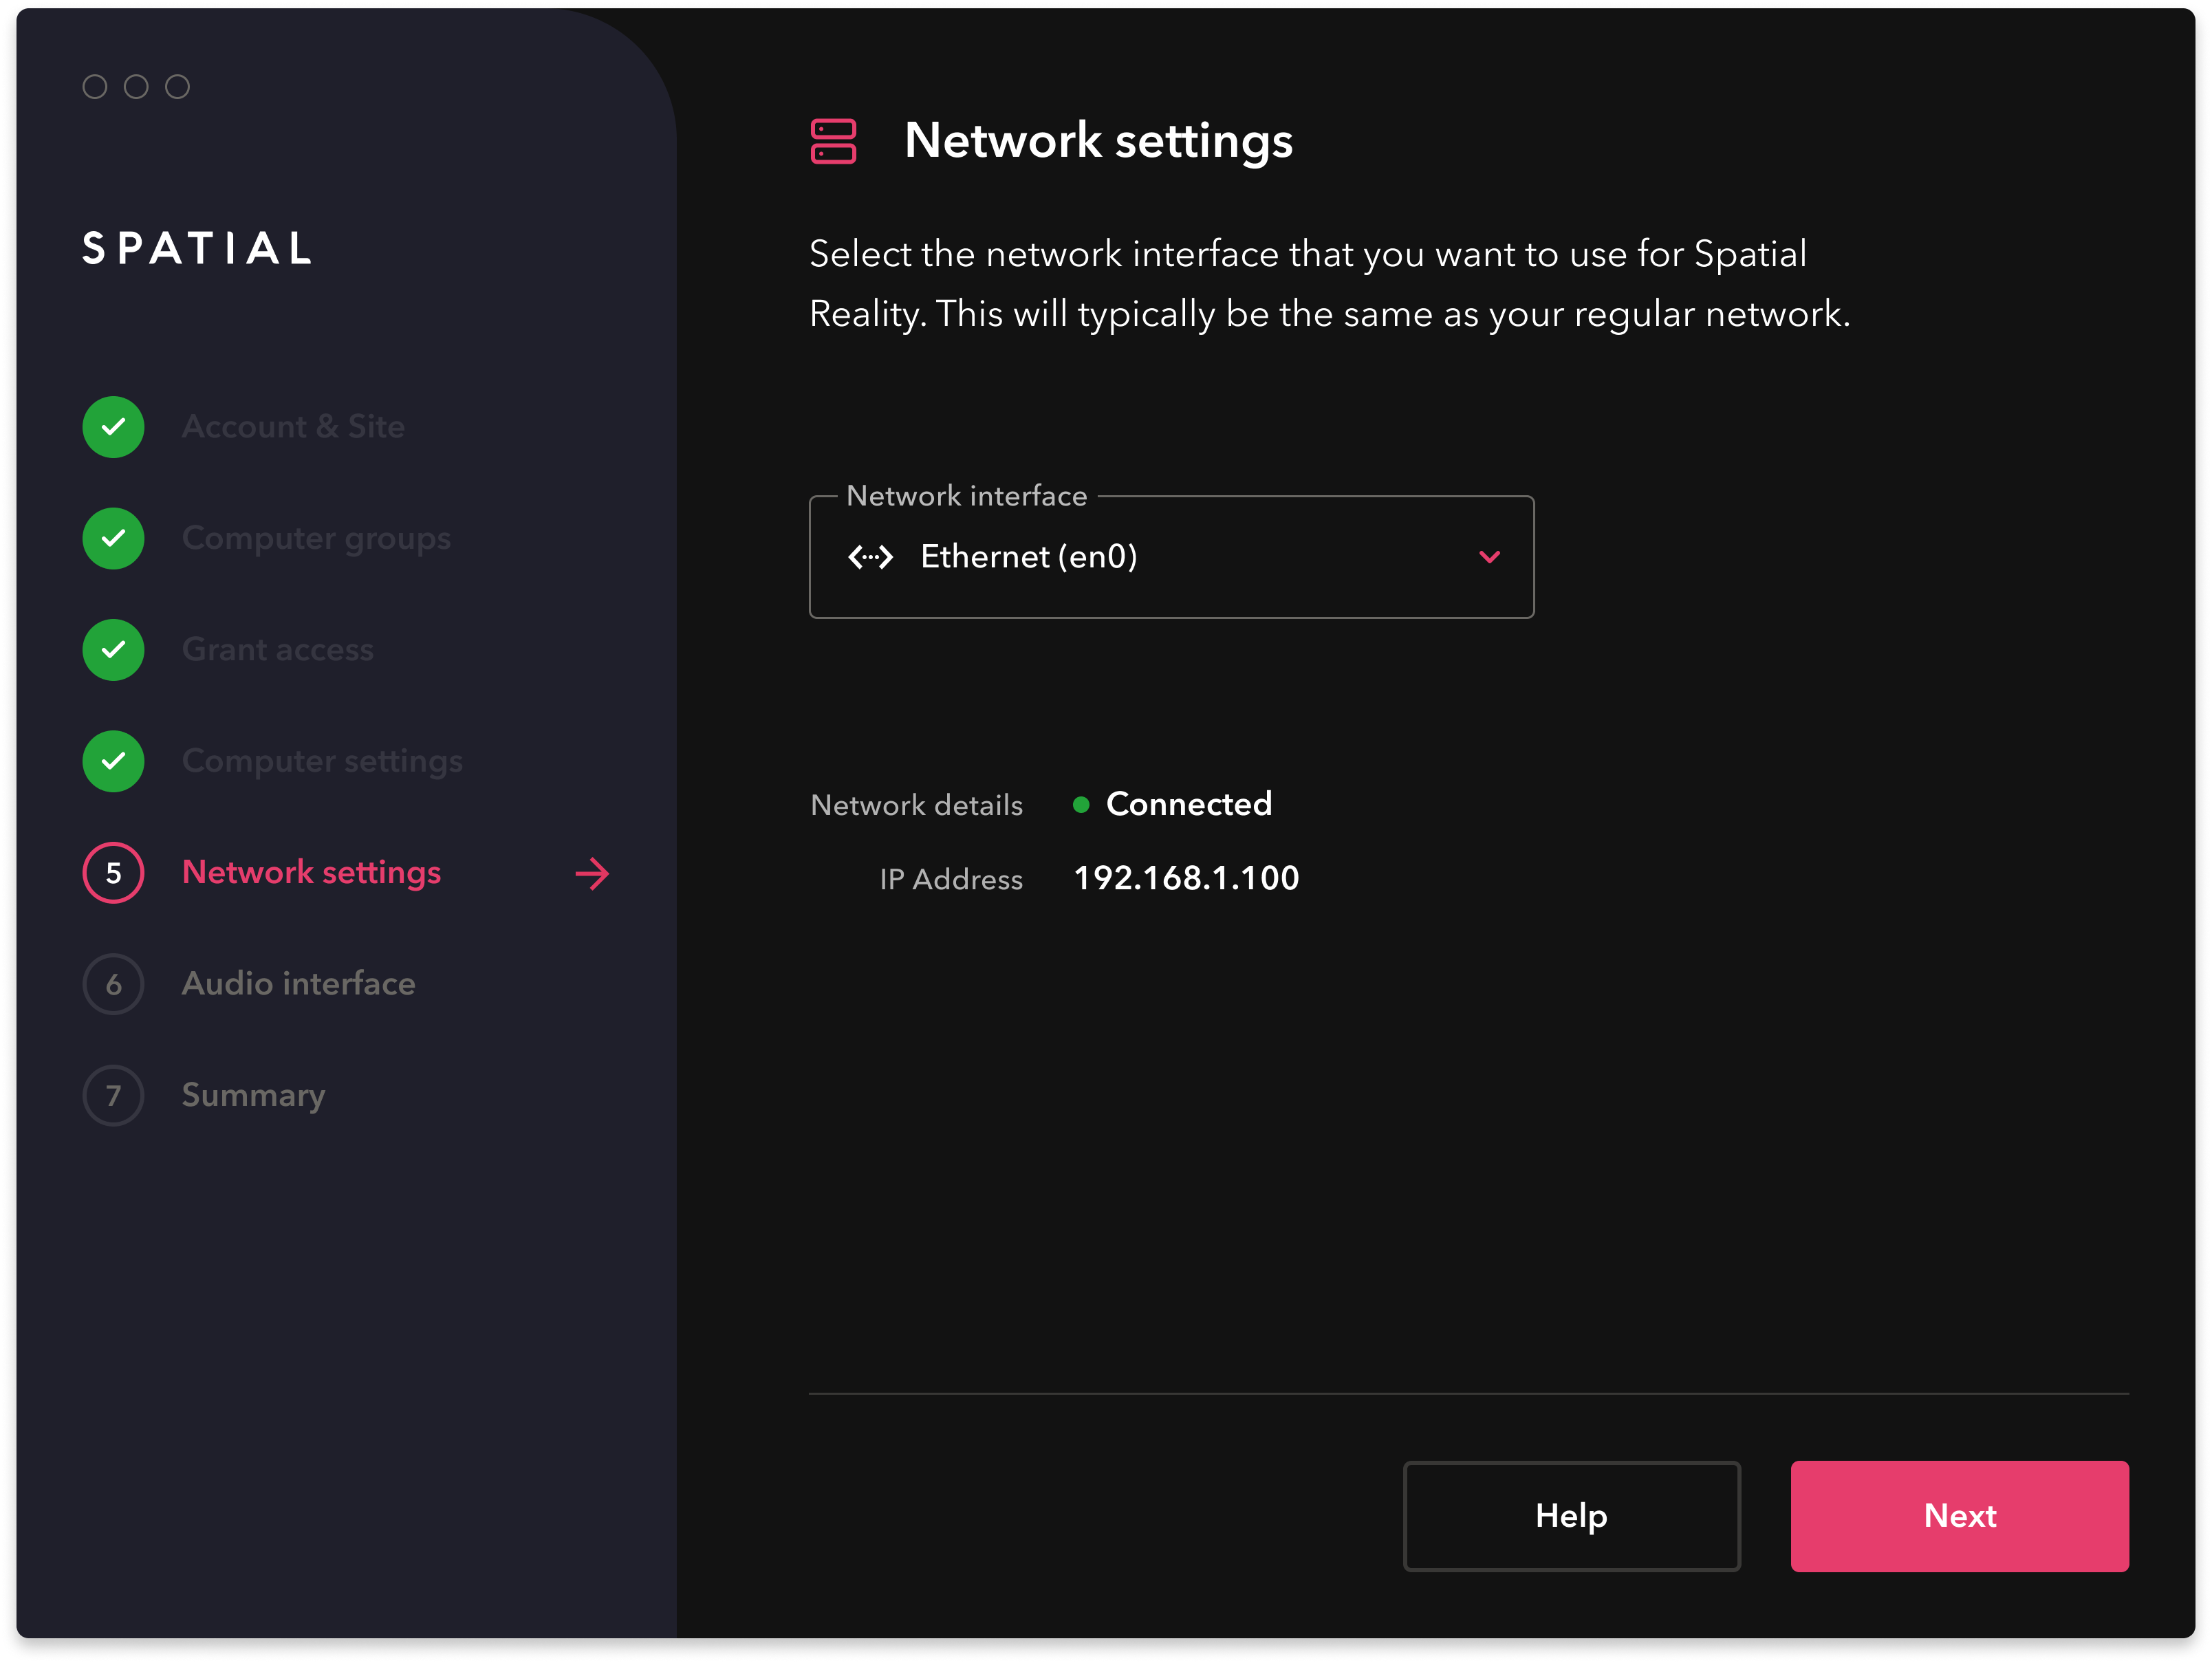
Note: if you are using networked audio equipment (e.g. for AES67 streaming) — we recommend setting up a separate network for audio.
When upgrading your MacOS software, you may need to reconfigure your hardware and software settings in Spatial Reality. You can learn more about upgrades here.
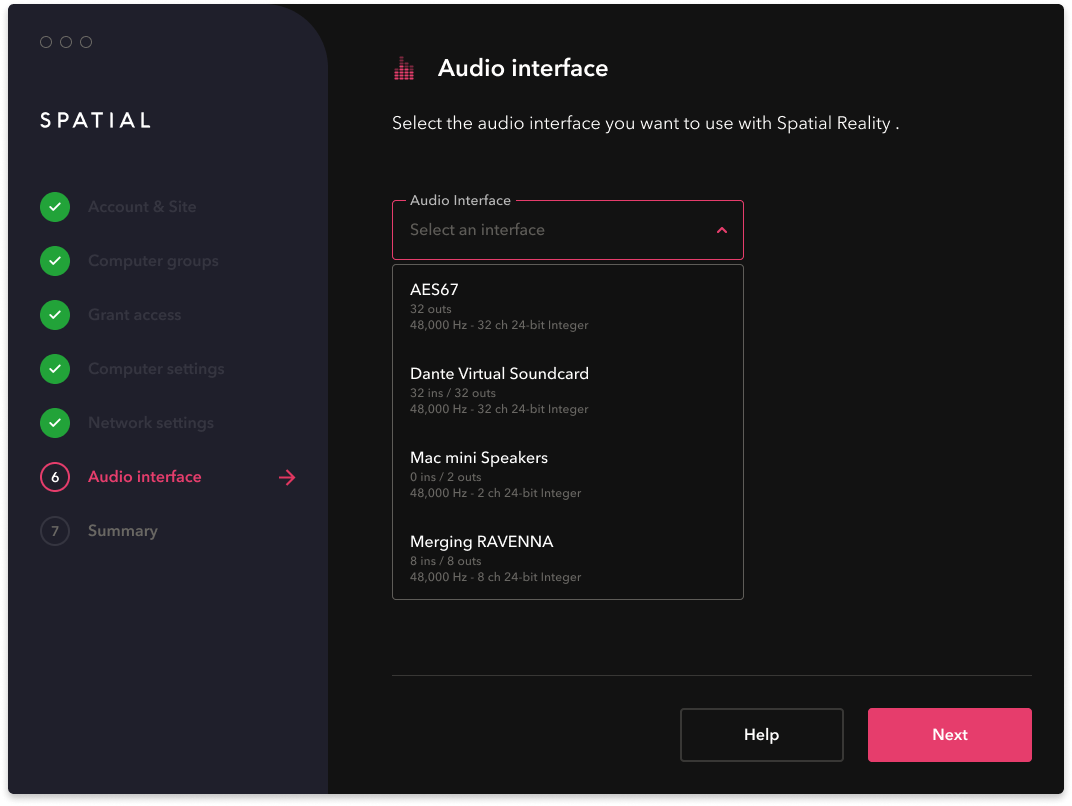
Audio Interface
Select the audio interface Spatial Reality should be configured to use. If you’re using a virtual soundcard — ensure that you have set up the audio routing to the correct hardware device and channels. You can also use multiple hardware interfaces together by setting up an aggregate device.
To learn more details about this AES67 setup process, please read the AES67 Setup guide.
Note: If the specified audio interface becomes unavailable later (virtual soundcard is not running, or hardware device is powered off or unplugged) — Spatial Reality engine will not start up properly. This may make your entire computer group unavailable for playback in Spaces.
The unique identifier of the audio interface may change if it is plugged into a different port on the computer, and Reality Engine will not automatically detect it. If this happens, you will need to reconfigure your Audio Interface in Reality Settings.
Summary
Confirm that all of the settings look correct. You can edit these settings by clicking on any one of the steps in the left column. You can also edit these settings later after the installation is complete. If everything looks good — click “Done” to complete the installation. This may take a minute or so — so feel free to grab a new coffee/beer.

Note: If this computer was added to an existing computer group, it will not affect the status of that computer group. This computer becomes an official member of the group once speaker channels from this computer are added to a Space.
Next Step: 🥳 — You are now ready to create your Space