Publishing a Scene
Now that Studio is referencing the client’s Spacemap, you can now begin to develop their Scene. For the sake of time, you’re going to load an already completed Scene, but it’s a Scene that has never been published to Spatial’s cloud.
- In the Lesson 8 tutorial files, open the Lesson 8 Dog and Bird Scene.
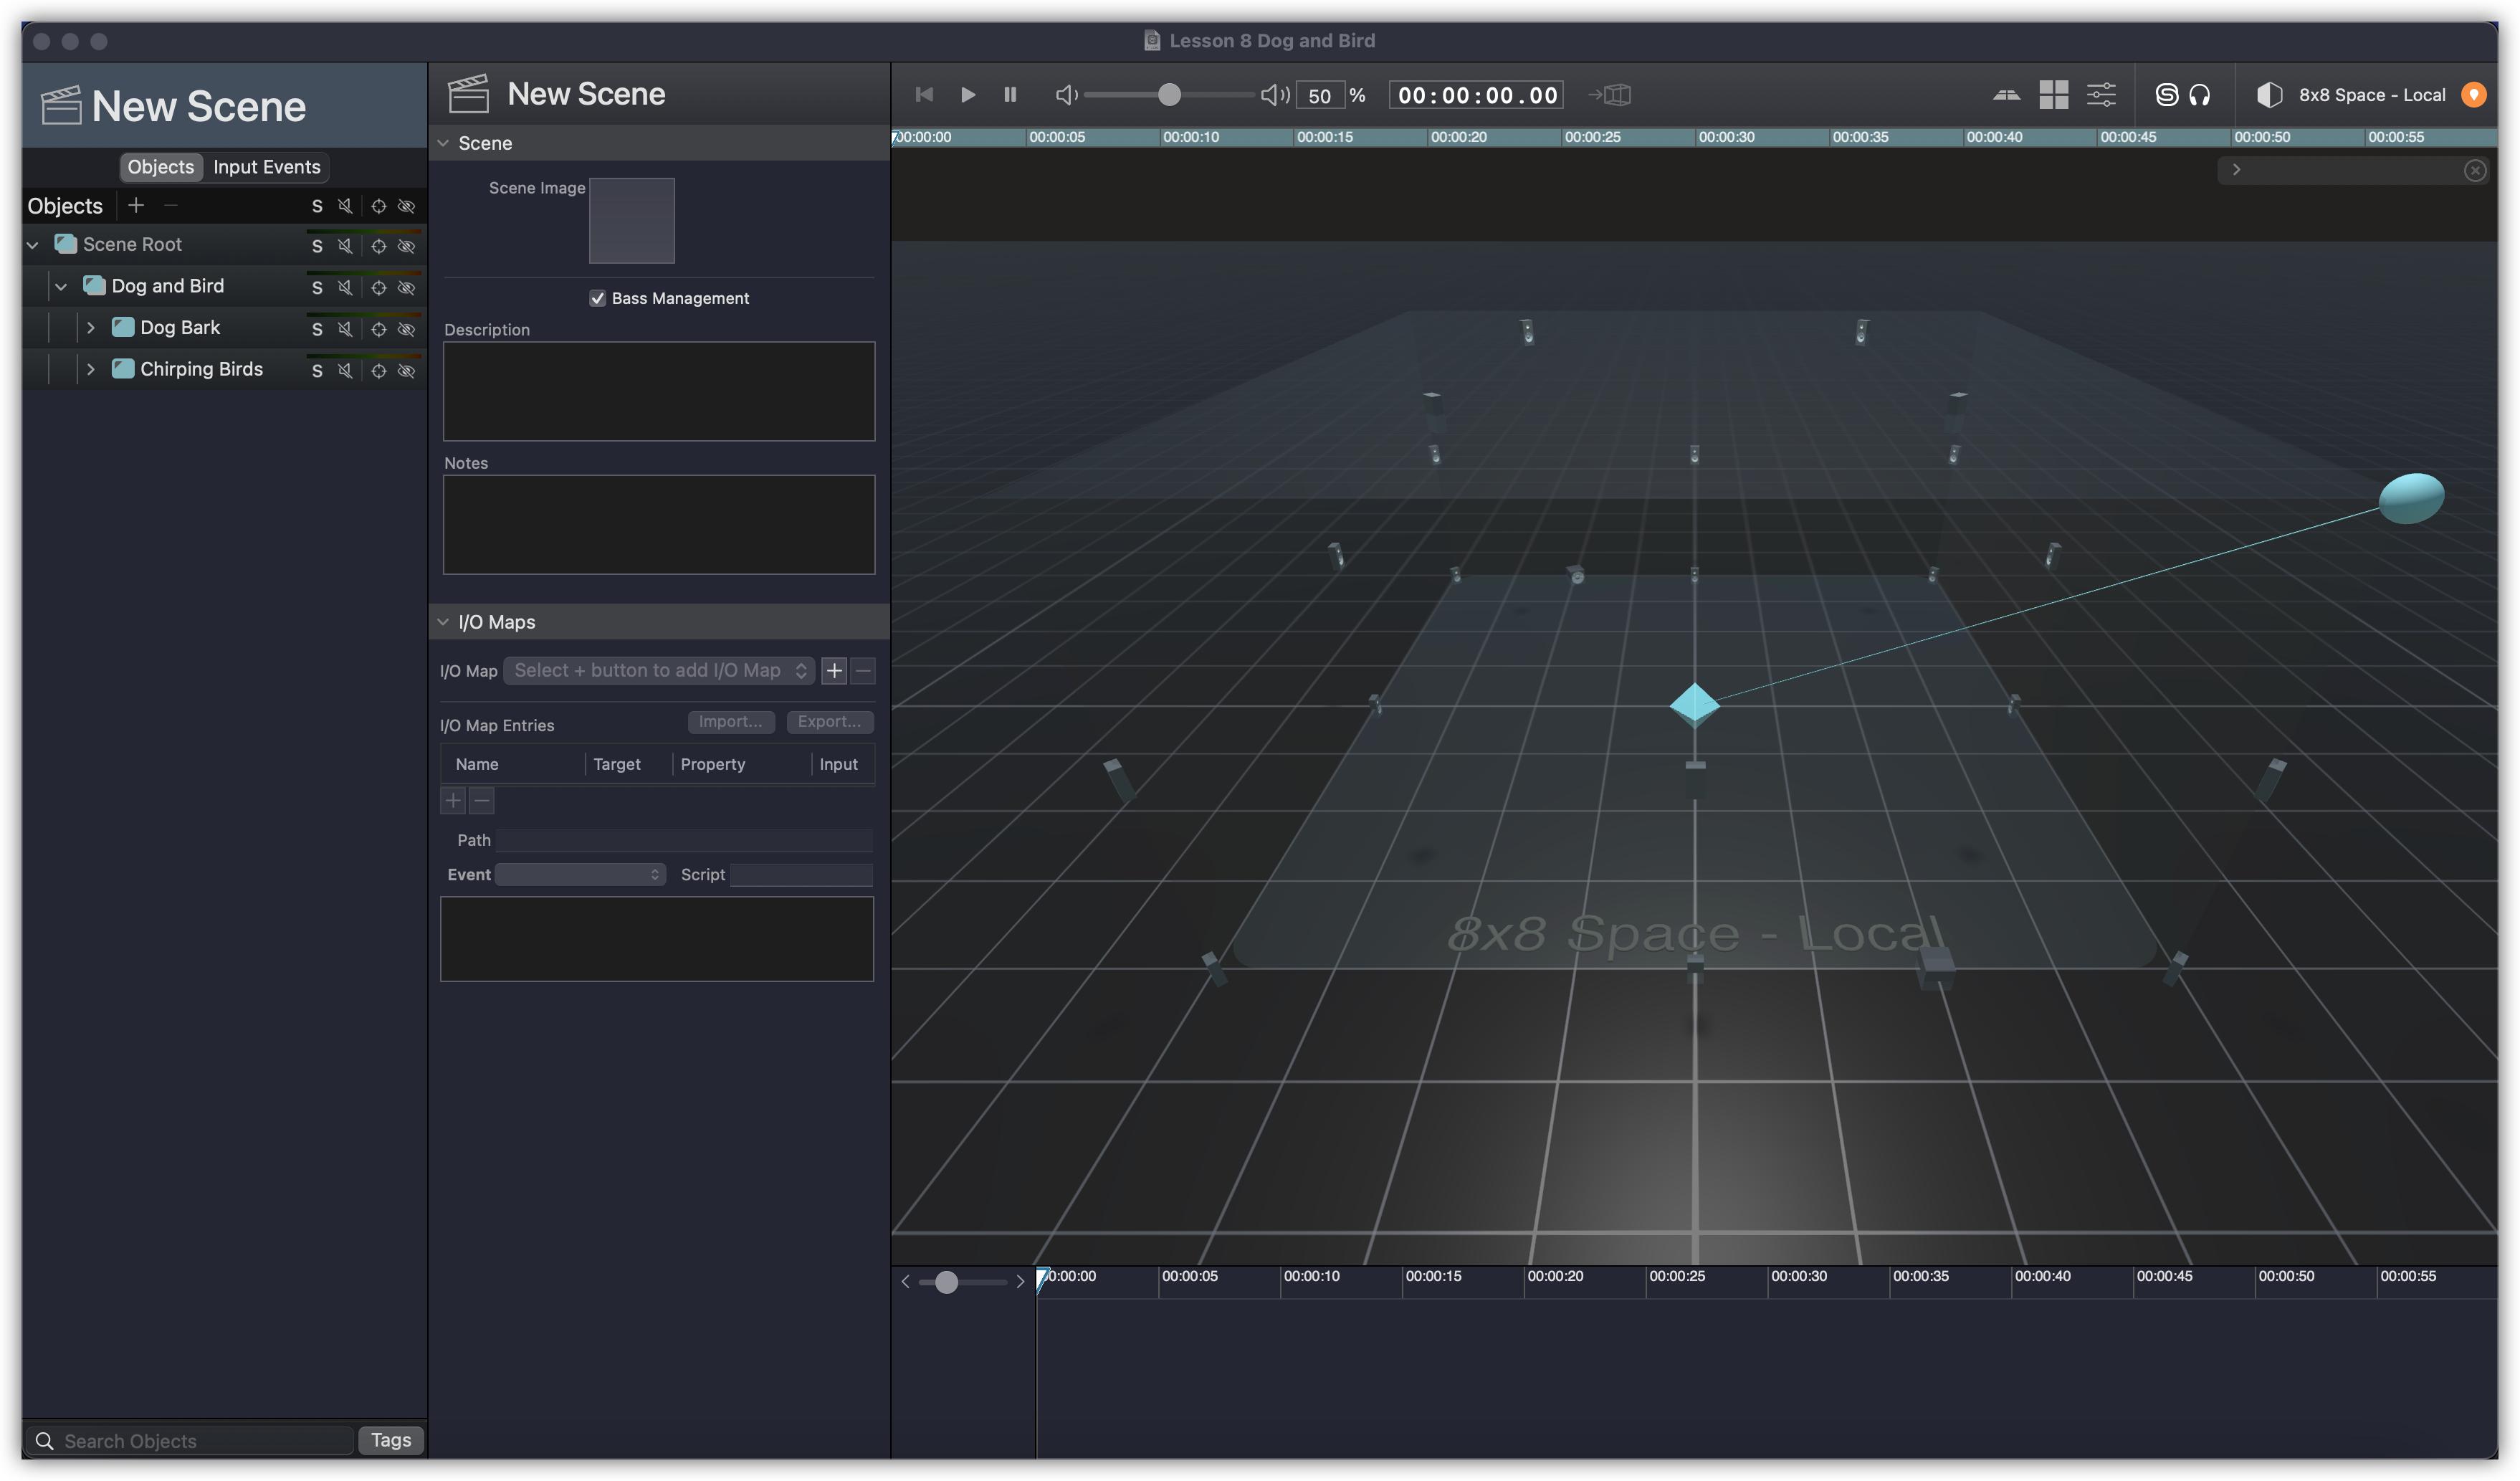
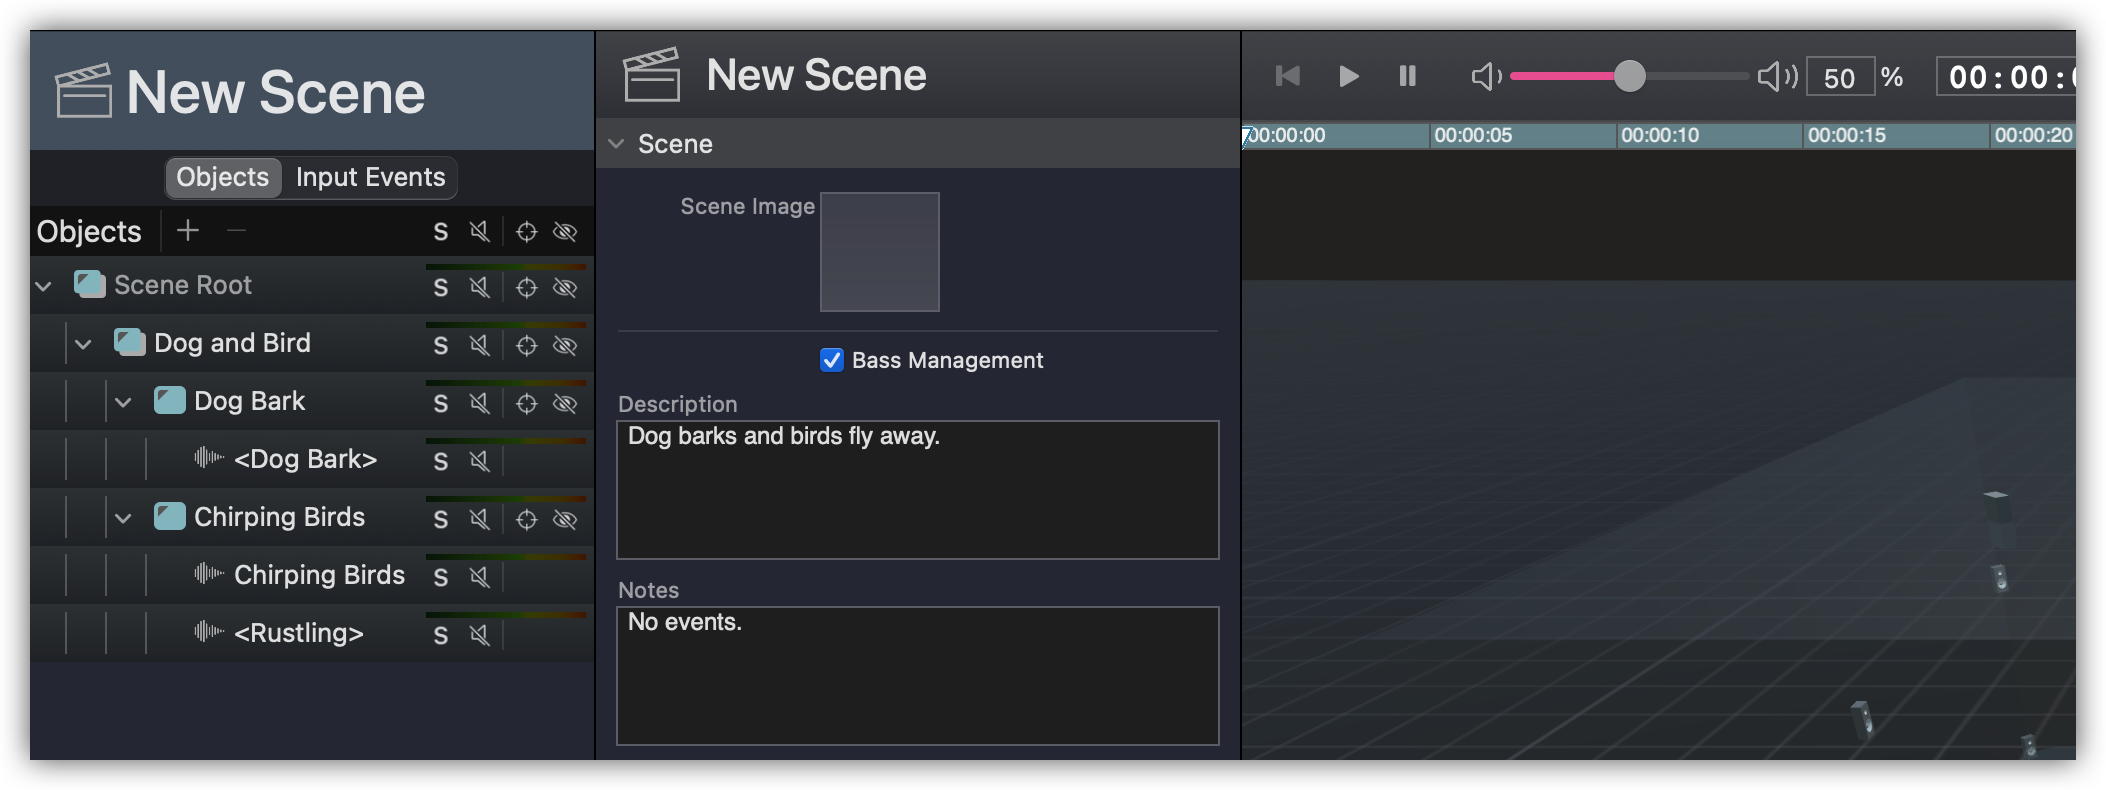
TheScene opens. At the top of the Object List, you can see the Scene name, Lesson 8 Beach Scene. Currently the Scene name matches the name of the project file that you just opened. The project file name and the Scene name don’t have to be the same. In fact, you may want them to be different. The Scene name is what will be displayed when the client is selecting this Scene within the Spatial Control app. In this case, the working title of the file and the Scene name the client will see should be different. - At the top of the Object list, click New Scene.
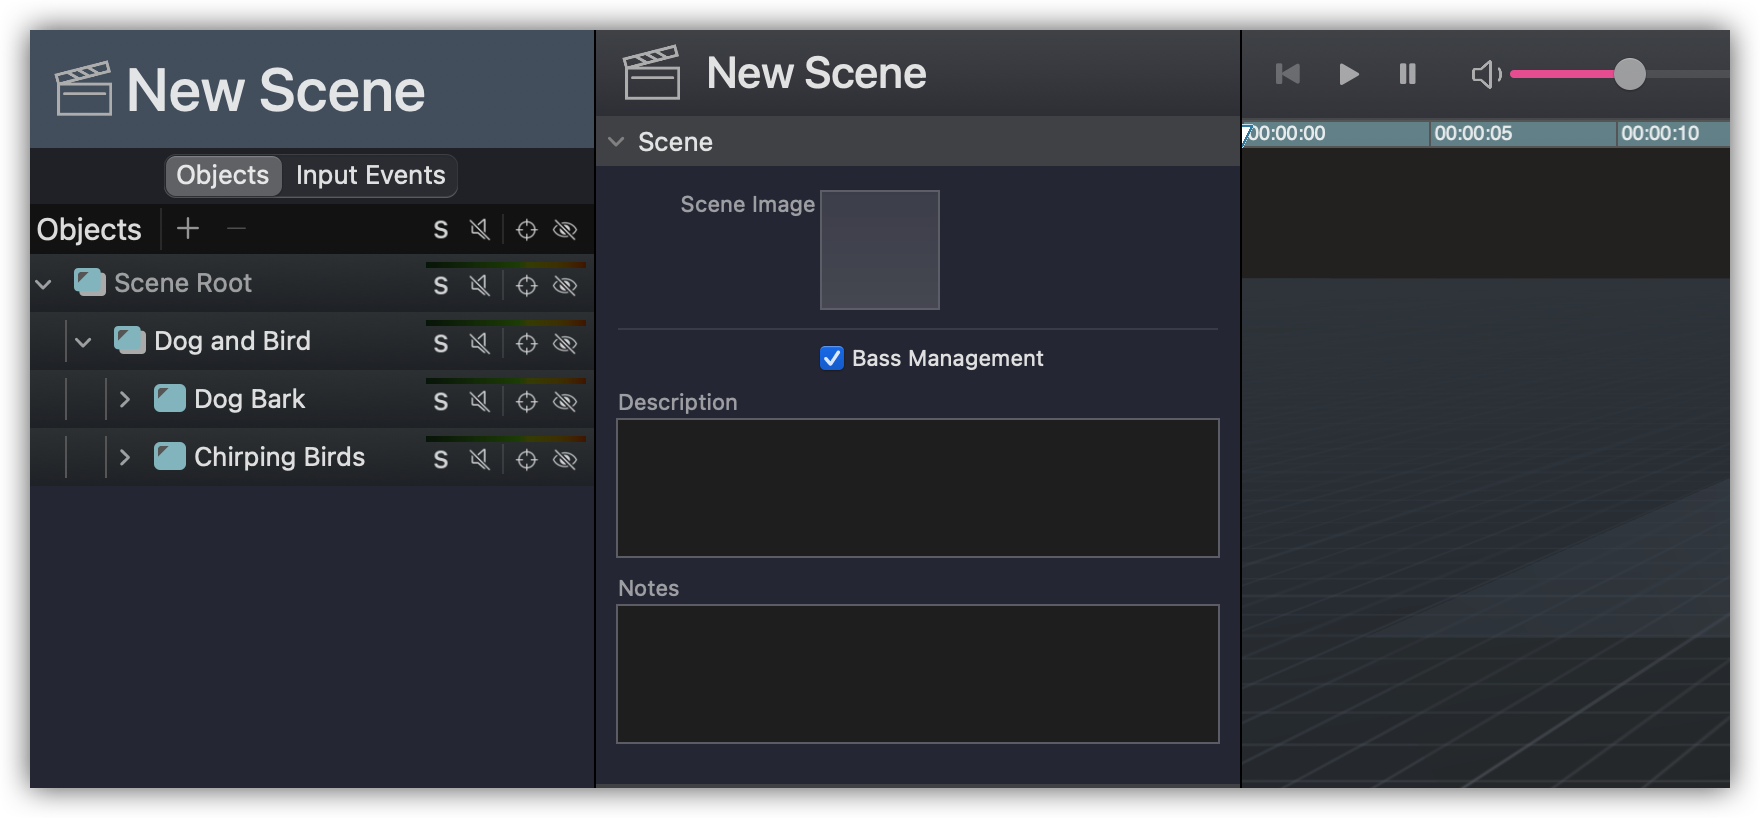
In the Inspector you see various properties that are relevant to the publishing process. - In the Inspector click the Scene name (“New Scene”) and change it to “Dog and Bird”.
Now, regardless of the Studio Project file name, Dog and Bird will be what is displayed in the Spatial Control app.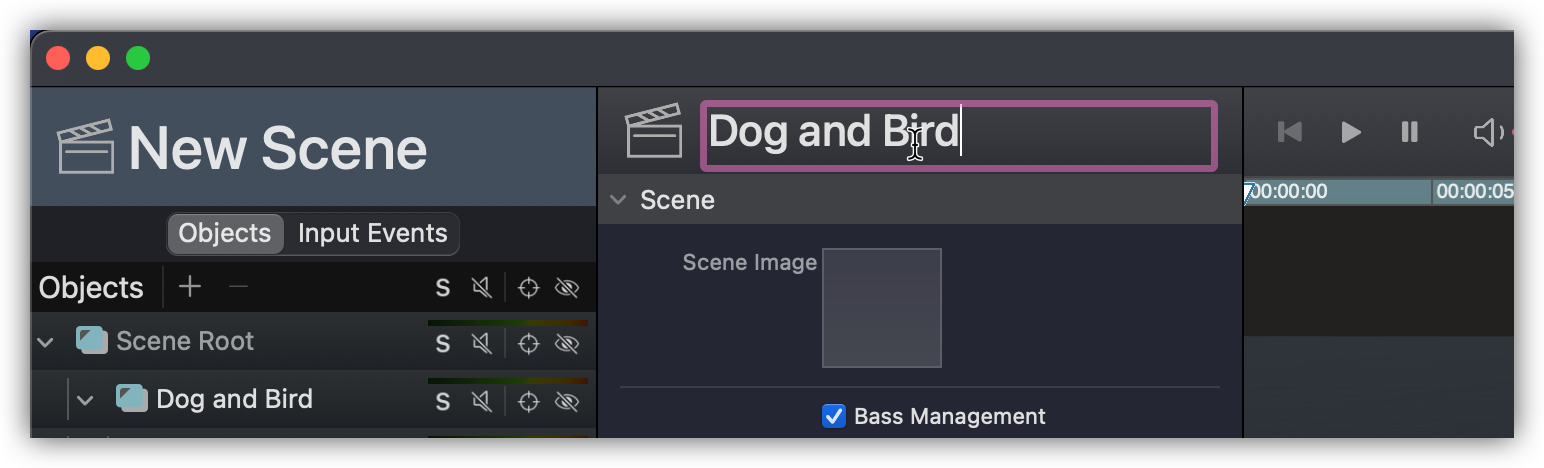
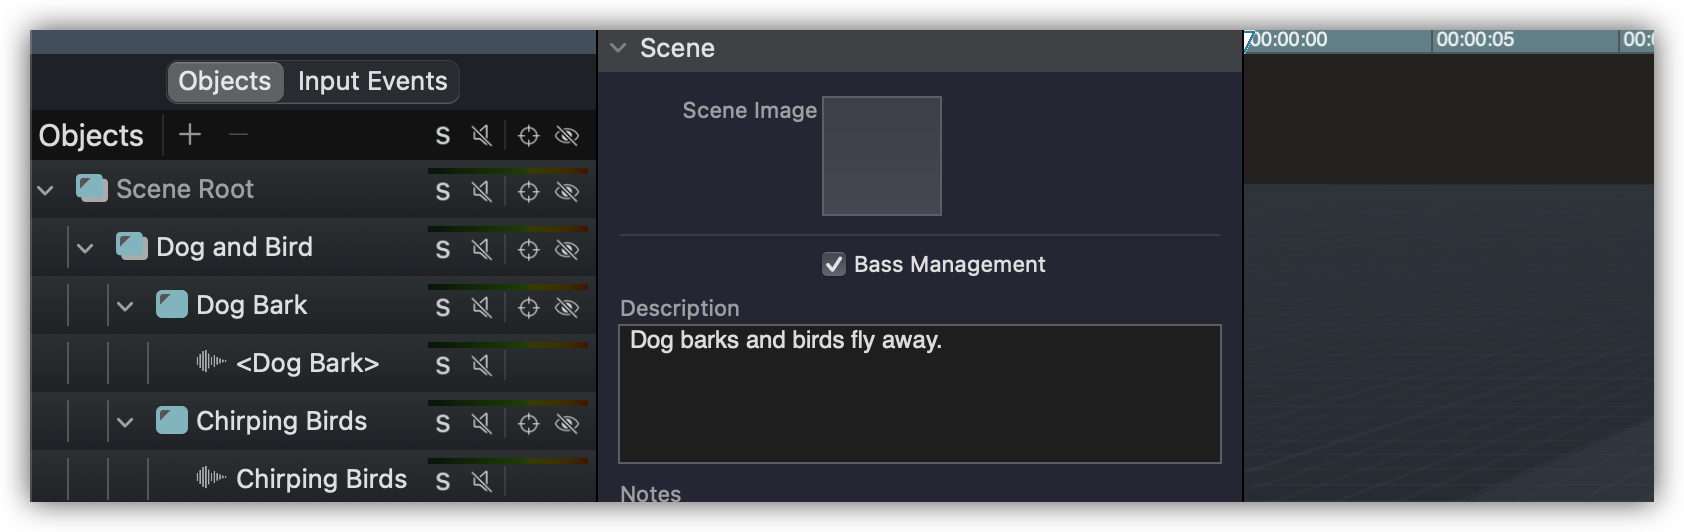
Also in the app, a description of the Scene can be viewed. This can also be entered in the Inspector. - In the description field enter “Dog barks and birds fly away.”
In addition to a description, notes can be added. This is not something that will be seen in the App, but will be visible in the Scene Manager. Details about any recent changes to the Scene are good choices to include here. - Click the Add Notes field and enter “No events.”.

You can also add an image that will be displayed in the Spatial Control app, or not.
Now that you’ve addressed the items that will be displayed in the Spatial Control app, you’re ready to publish your Scene. - Choose Scene > Publish Scene
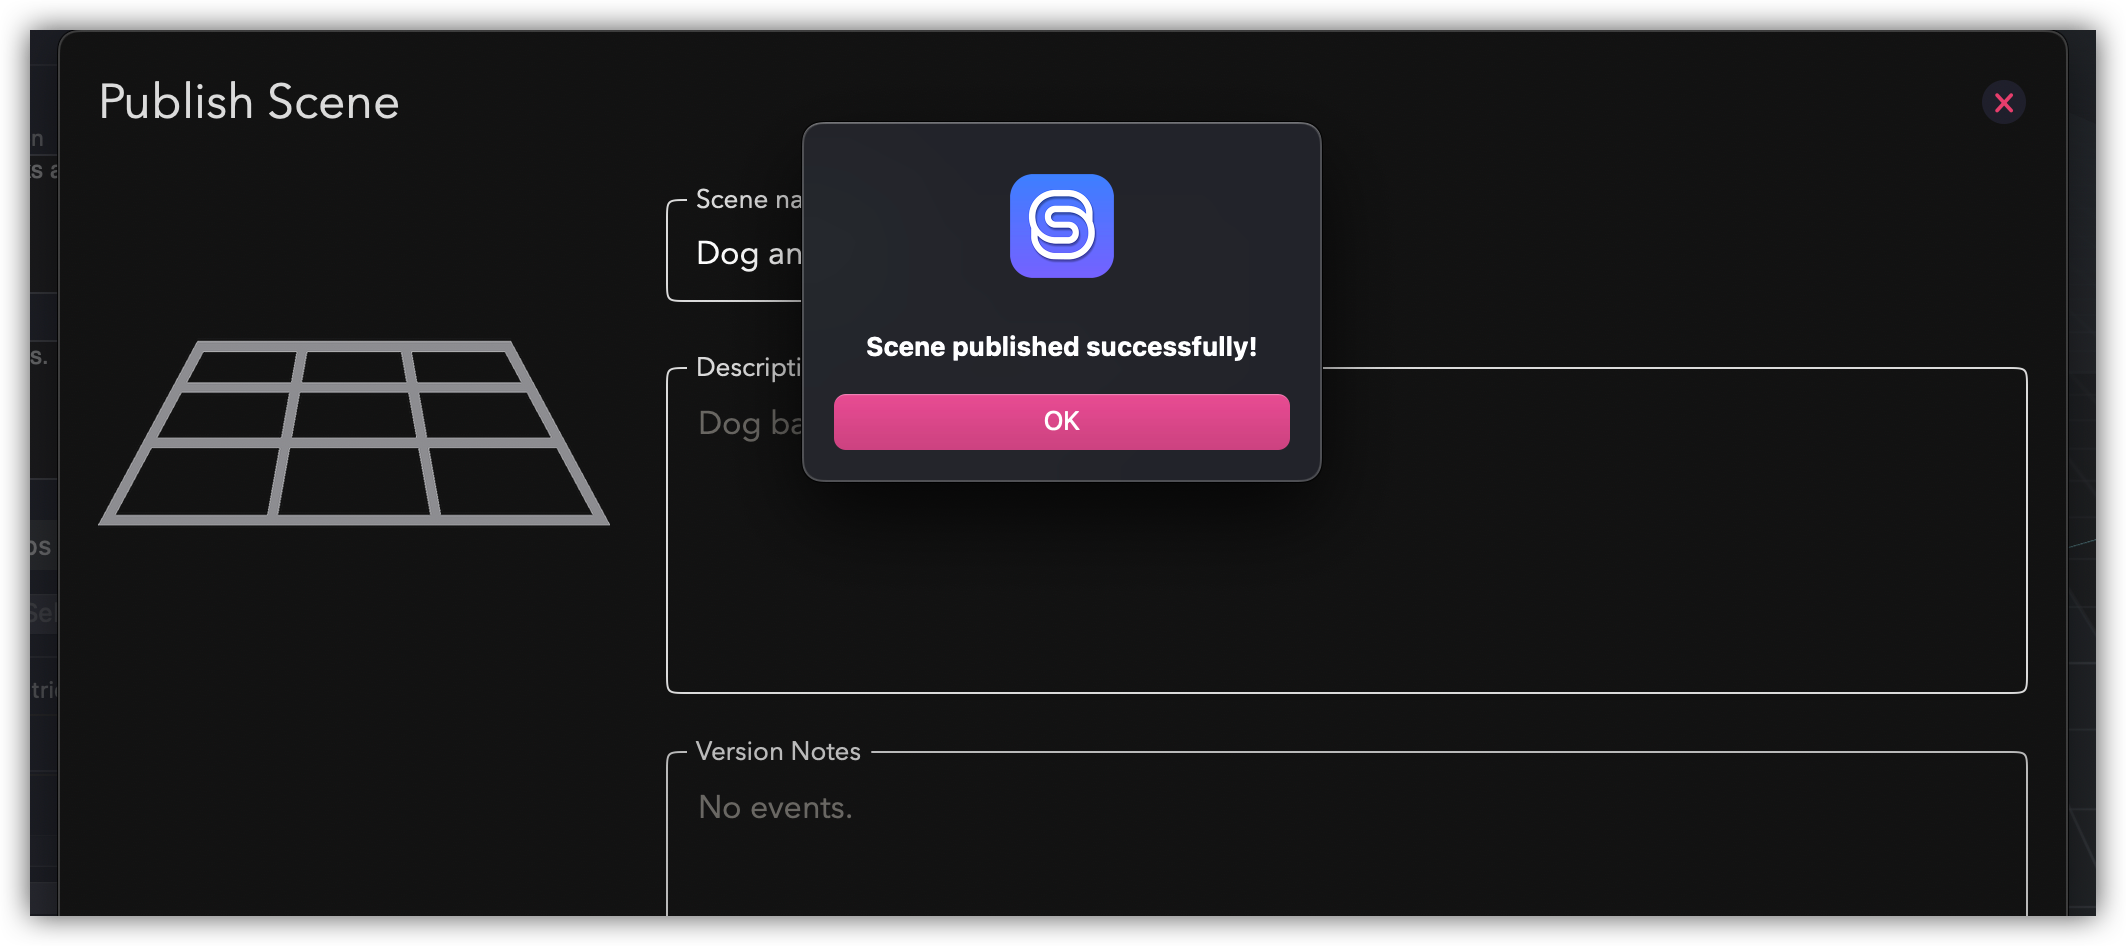
You see a window appear that reflects the properties you just updated. If you were to make any changes in these fields, that information would be updated in the local project as well. Since this is the first time you’re publishing this Scene, you see a Publish as New Scene button. Pressing this will upload the Scene to your account in the Spatial Cloud. - Click the Publish New Scene button.

After a few moments, a message indicates that this has been pushed to the Spatial Cloud.
NOTE: Once published, Scenes are given internal tags that allow the Spatial publishing to see it has been previously published to an account. From there, when going to publish the Scene again the system will ask you whether you want to publish it as a new Scene or a Scene version. - Click the OK button
Verifying in the Scene Manager
Now that you’ve published the Dog and Bird, you need to verify that it is being properly recognized within Spatial’s cloud system by using the Scene Manager.
- In the main menu choose Scene > Scene Manager.
In the left column you see all of the Scenes associated with your Spatial account.
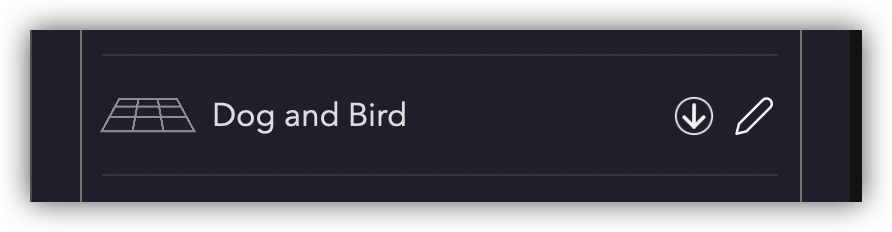
Scroll to find and confirm that the Dog and Bird is listed.
You see the Dog and Bird Scene represented with no Scene image. To see the description and version information you entered, click the Pencil to the right of the Scene name. - Click on the Pencil.
You see the description and version information you entered earlier. You can modify the description here, but this change will only be in the cloud. - Close the Editor window.